

Introduction
IrisAgent’s customizable chatbot can be deployed on any website to answer support questions. This chatbot is designed to enhance customer support and provide instant assistance to website visitors. Here are the key features and capabilities:- Customizability: The chatbot can be fully customized to match your brand’s identity. You can customize the chatbot’s appearance, including its colors, fonts, and overall design, to seamlessly integrate it into your website.
- Branding and Logo: You have the ability to add your brand’s logo to the chatbot interface, ensuring a consistent visual representation of your company’s identity throughout the customer experience.
- Welcome Message: You can create a personalized welcome message that will greet visitors as soon as they initiate a conversation with the chatbot. This message can be tailored to introduce your brand, set expectations, and guide users on how to get the support they need.
- Support Question Handling: The chatbot is equipped to handle a wide range of support questions and provide relevant answers in real-time. It utilizes natural language processing (NLP) and machine learning techniques to understand user inquiries and respond accurately.
- Analytics and Insights: The chatbot provides detailed analytics and insights into user interactions, allowing you to understand customer behavior, identify frequently asked questions, and optimize the chatbot’s performance over time.
Getting Started and Integration Guide
-
Go to AI Products → Chatbot and click Configure and deploy. The default chatbot configuration opens automatically; use the Configuration selector to switch configurations or New configuration to create one.
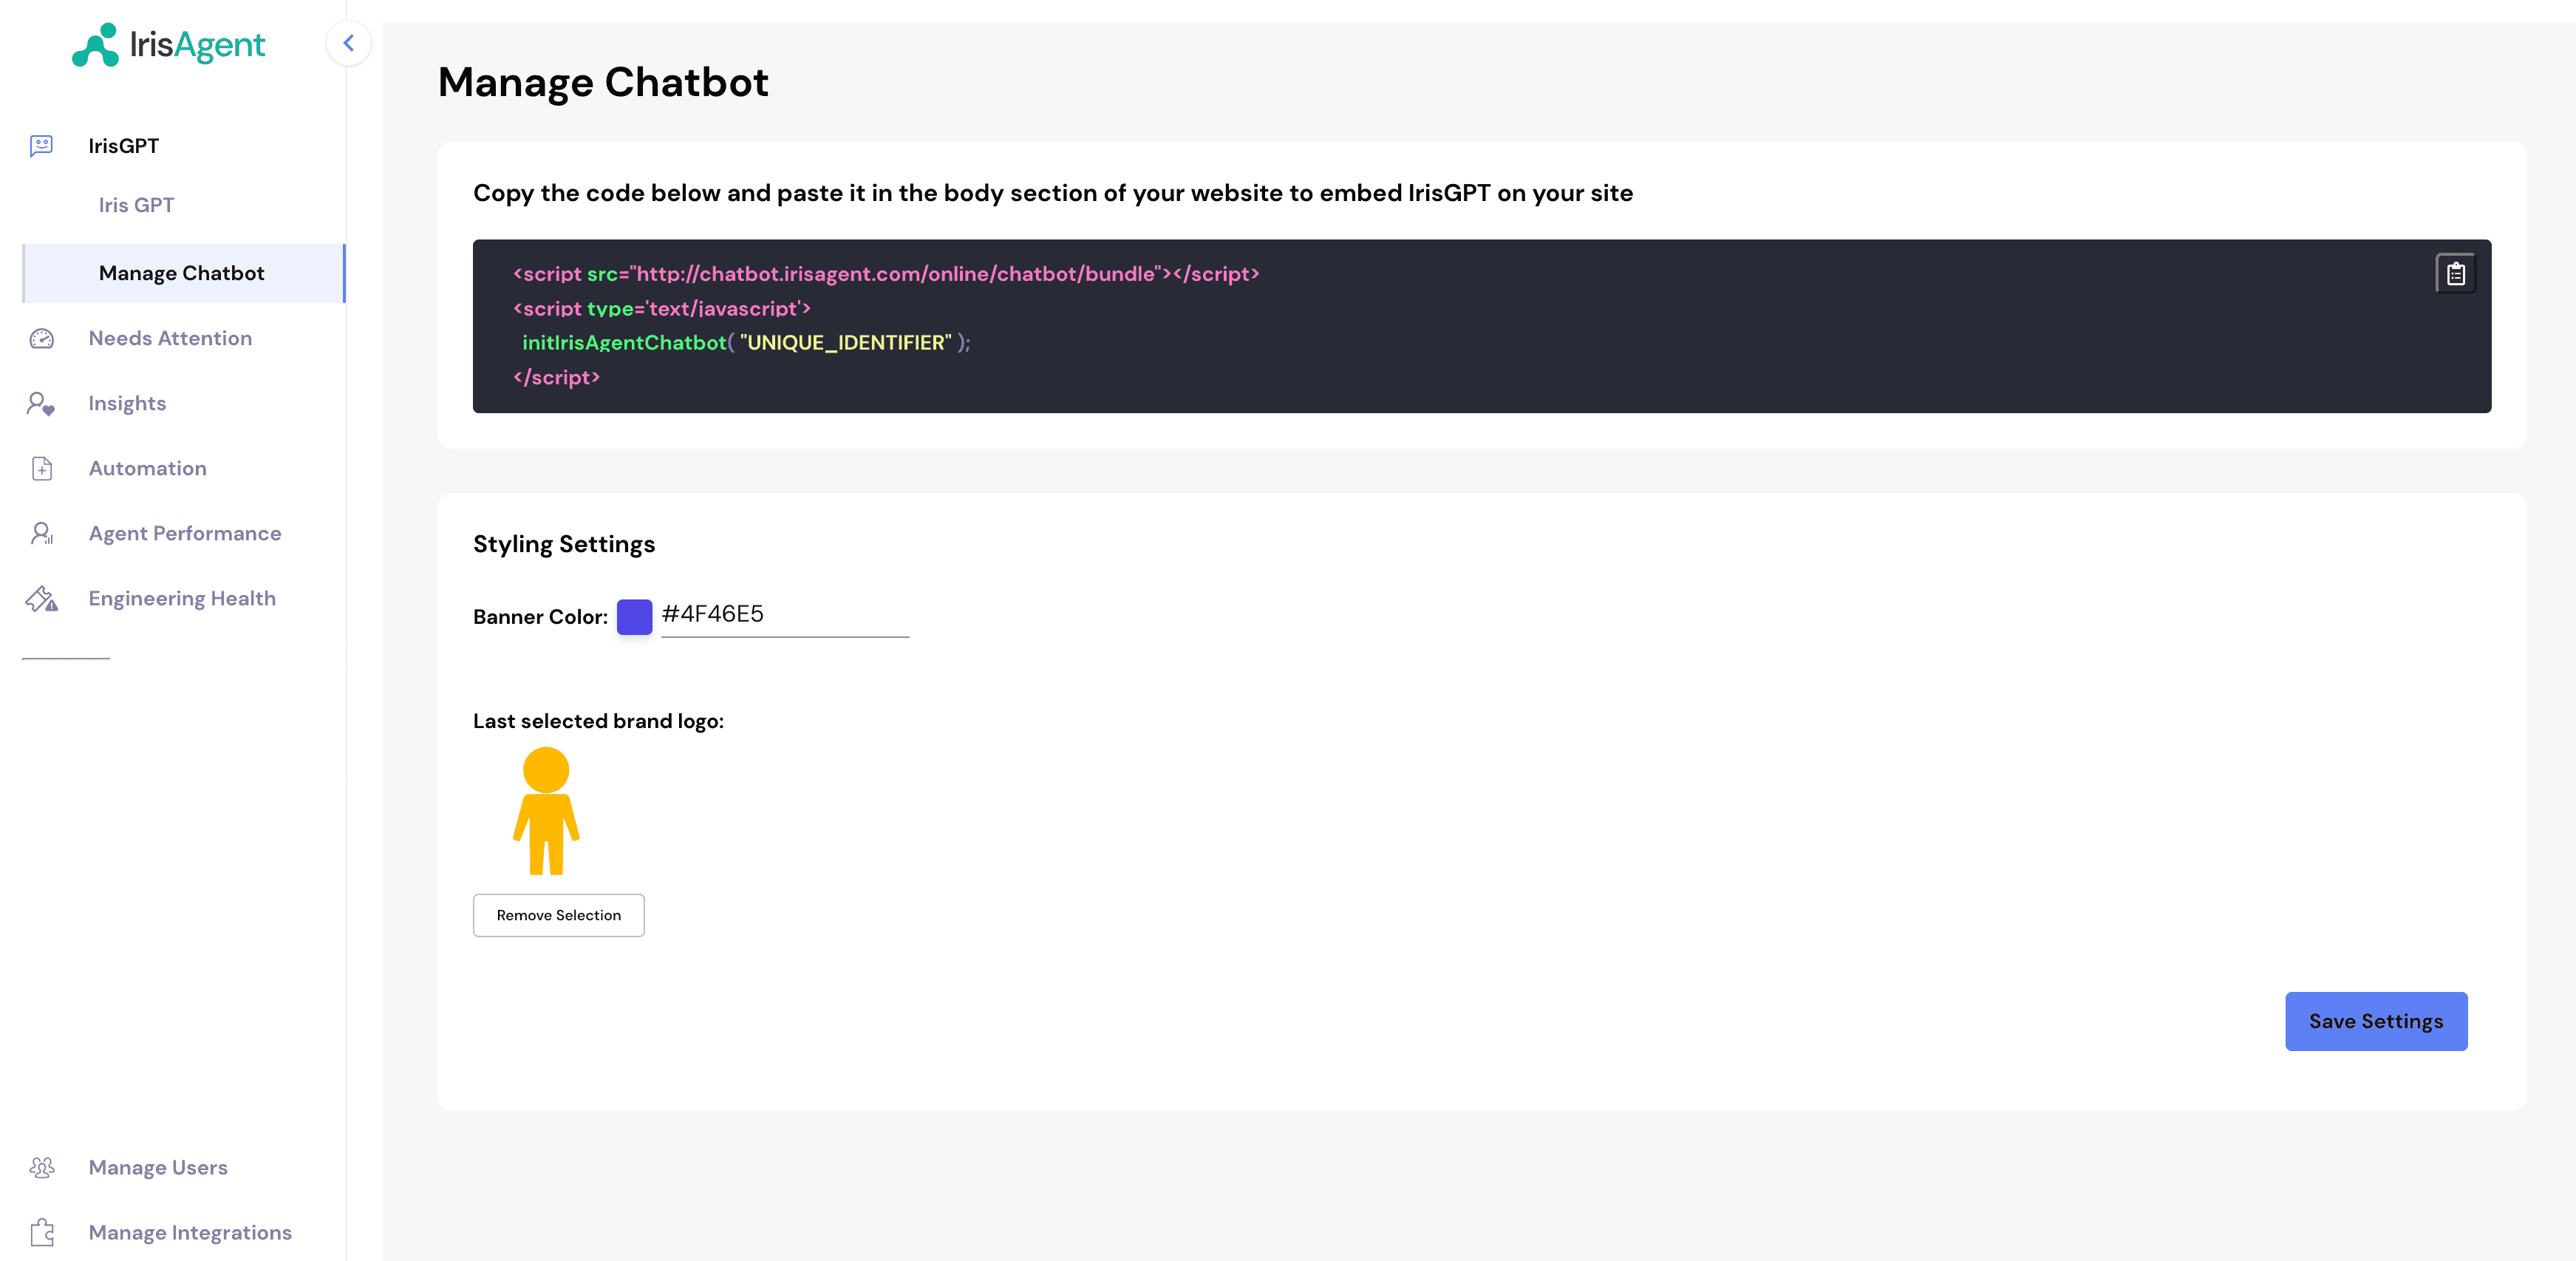
- Customize the chatbot (brand color, logo, welcome message, behavior, and more) using the settings described in Configuration options below.
-
Click Deploy, then Reveal API Key, and paste the snippet into the body section of your website.
- You can see chatbot conversations under Activity → Conversations.
- That’s it, done! You should be seeing the IrisAgent chatbot on your website.
Configuration options
You can configure the chatbot in two ways:- From the chatbot configuration editor (recommended for most users): edit the common settings through the dashboard UI. No code required.
- From the embed snippet (advanced): pass a full theme object via a
data-themeattribute to control every visual detail. See Advanced theming.
Settings in the configuration editor
These options are organized into Instructions, Behavior, Appearance, Handoff, Localization, and Advanced tabs in the chatbot configuration editor.Auto-open controls whether the chatbot starts expanded or collapsed. Turning it
off is useful when you want a less intrusive experience and prefer visitors to open
the chat themselves. By default the window auto-opens on desktop only.
Setting Agent handoff to Open a ticket requires a ticketing or CRM data
source to be connected first, so IrisAgent has somewhere to create the ticket.
If your account was set up from a website link only, connect a source such as
Salesforce before selecting this option. Connecting
Salesforce uses its own Salesforce sign-in and is separate from your original
website signup.
To let visitors stay in the IrisGPT widget while agents reply from Salesforce,
first configure an Enhanced Chat custom client deployment, then select Start a
live chat under Agent handoff. Follow the Salesforce Live Chat Handoff
guide for the Salesforce and
IrisAgent setup steps.
For Zendesk Messaging webhook deployments, select Start a live chat in the
Handoff tab and optionally enter Zendesk ticket tags. When a procedure
escalates, IrisAgent adds the tags to the active messaging ticket and passes
Switchboard control to Zendesk Agent Workspace. See Chatbot Automation on
Zendesk Messaging.
Advanced theming
For full control over the chatbot’s appearance and behavior, pass a theme object to the embed snippet using thedata-theme attribute. The value is your theme JSON, Base64-encoded.