Prerequisites
Before setting up the Conversations integration, you must have Messaging for Web configured in your Zendesk account. This integration requires a functioning Web Widget to communicate with your customers.Setting Up Messaging for Web
If you haven’t already set up messaging, follow the official Zendesk guide: Getting started with messaging for your website, help center, and mobile apps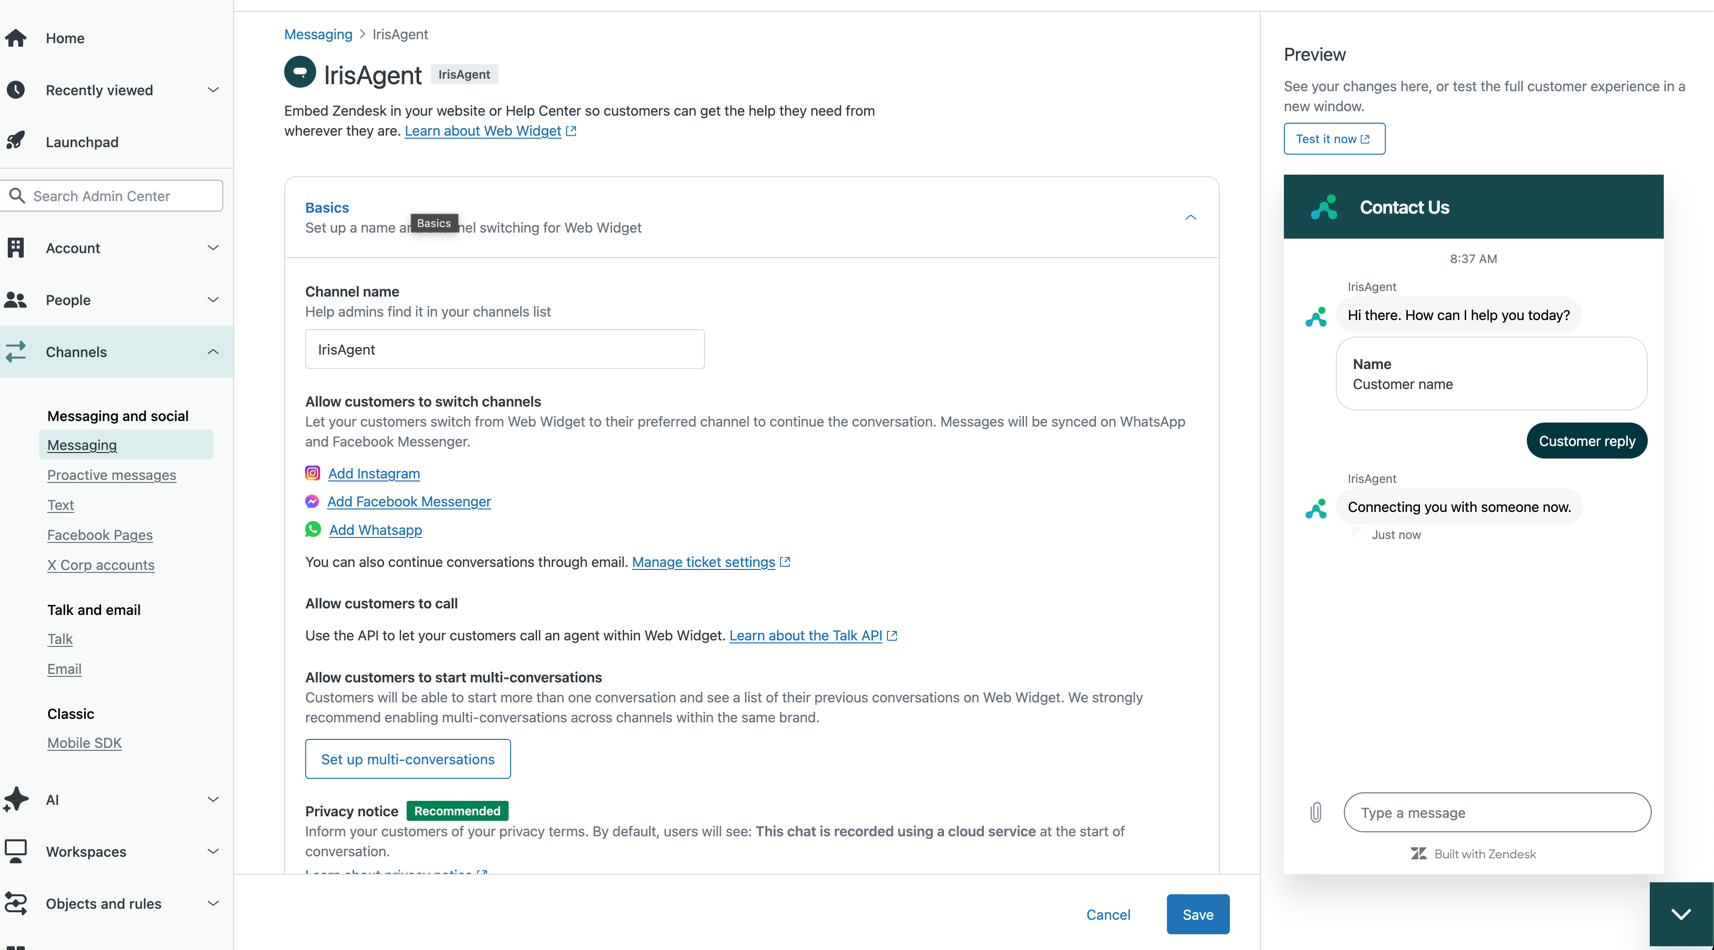
- Create a messaging channel (automatically enabled in your account)
- Configure and customize your Web Widget appearance
- Install the Web Widget code on your website or help center
- Set up ticket routing and agent access
Step 1: Create a Conversations Integration
Create a new Conversations integration to establish a bidirectional connection between Zendesk and IrisAgent. **Follow the official guide: ** Creating conversations integrations in Admin CenterConfiguration Steps
- In Zendesk Admin Center, navigate to Apps and integrations > Integrations > Conversations integrations
- Click Create integration and give it a descriptive name (e.g., “IrisAgent Integration”)
- Configure the webhook settings:
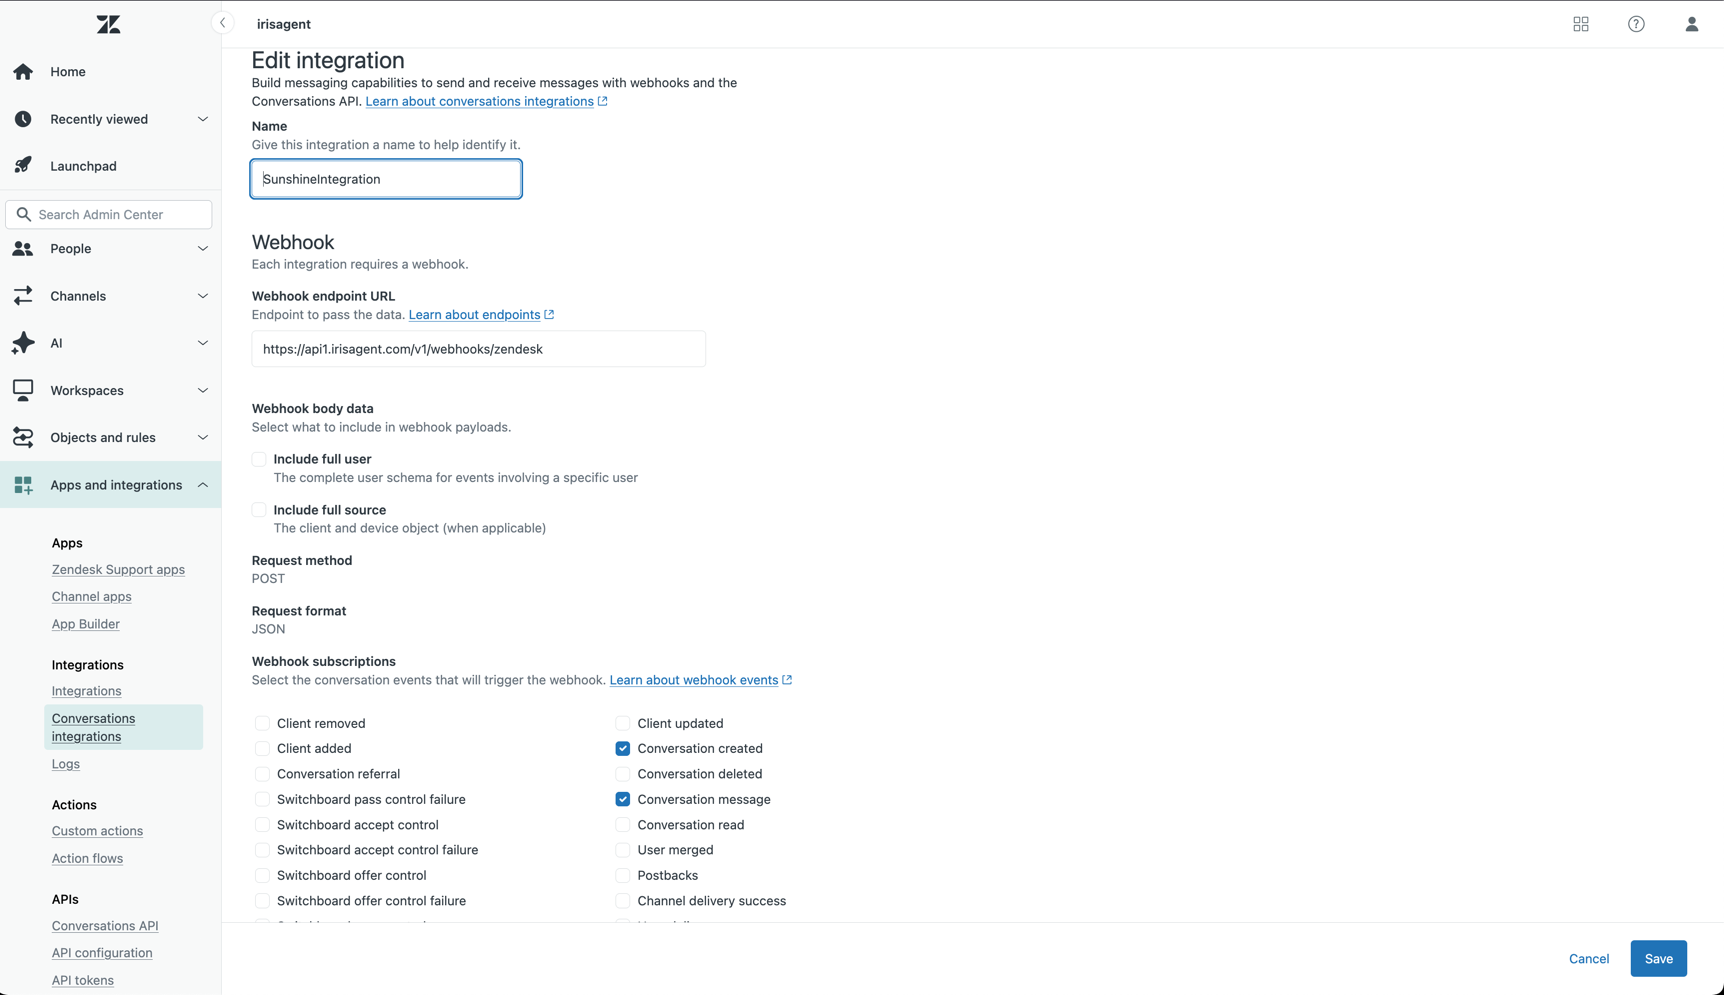
- Target URL:
https://api1.irisagent.com/v1/webhooks/zendesk - Event Subscriptions: Select the following events:
- ✅
conversation:create(Conversation created) - ✅
conversation:message(Conversation message)
- ✅
- Click Save to create the integration
Record Integration Credentials
After saving, you’ll need to collect the following information:
⚠️ Important: The shared secret is shown only once. Copy and store it securely before leaving the page.
Step 2: Generate API Keys
API keys provide authentication credentials for making API calls to Sunshine Conversations.Creating API Keys
- In your Conversations integration, navigate to the API Keys tab
- Click Create API key and give it a descriptive name
- After creation, click on the key to view the credentials dialog
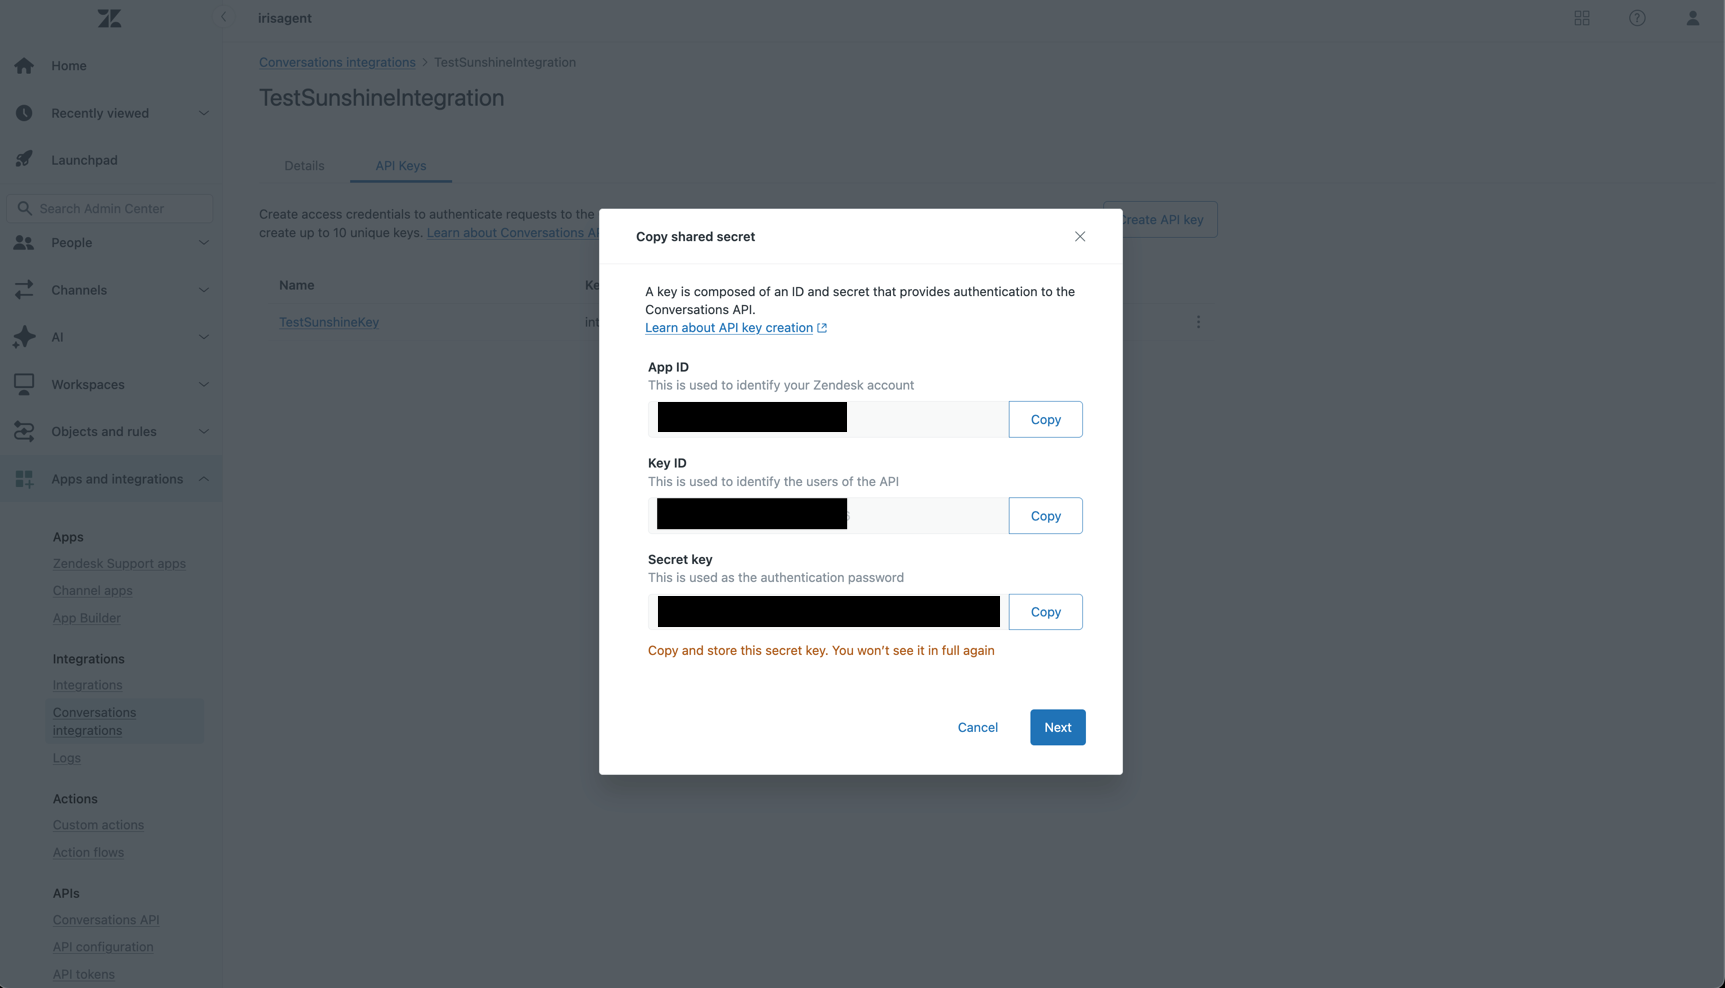
Record API Credentials
Copy and store the following values:
⚠️ Important: The secret key is shown only once. Copy and store it securely before closing the dialog.
Step 3: Configure IrisAgent
Now that you have all the required credentials, configure IrisAgent to connect with your Zendesk Sunshine Conversations.- In the IrisAgent dashboard, open Deploy > Chat from the left sidebar
- Find the Zendesk Sunshine card and click Configure to open the configuration panel
- Enter all the credentials you collected:
- App ID
- Integration ID
- Webhook ID
- Shared secret
- Key ID
- Secret key
- Click Save to complete the setup
Verification
After completing the setup:- Send a test message through your Web Widget
- Verify that the conversation appears in your Zendesk Agent Workspace
- Confirm that IrisAgent is receiving and processing the conversation events
- All credentials are entered correctly
- The webhook events (
conversation:createandconversation:message) are properly selected - Your Zendesk account has the required permissions (Suite Professional plan or above)