

Overview
IrisAgent correlates Jira issues with support cases so support, engineering, and product teams can identify related bugs and understand their customer impact. Jira Software can be connected as an issue provider even when your primary ticketing system is Zendesk, Salesforce, Intercom, Freshworks, HubSpot, or another supported platform. You can connect multiple Jira accounts or sites. Each Jira account has independent credentials, project scope, product routing, comment settings, and ingestion state.If Jira Service Management is your primary ticketing system, start with the Jira Service Desk/Jira Software setup guide. Use the instructions on this page for additional Jira accounts used as issue providers.
Before you begin
For each Jira account, use an Atlassian service user with access only to the projects that IrisAgent should ingest. The API token has the same Jira permissions as the user who creates it. The service user needs:- Read access to the Jira projects and issues that IrisAgent should ingest.
- Read access to comments if you enable Ingest comments.
- Write access to comments if you enable Post comments to cases.
- Access to the
/issue/createmetaendpoint if agents will create Jira issues from the IrisAgent Copilot app.
Connect your first Jira account
- Sign in to the IrisAgent dashboard.
- Open Data Sources and select Development.
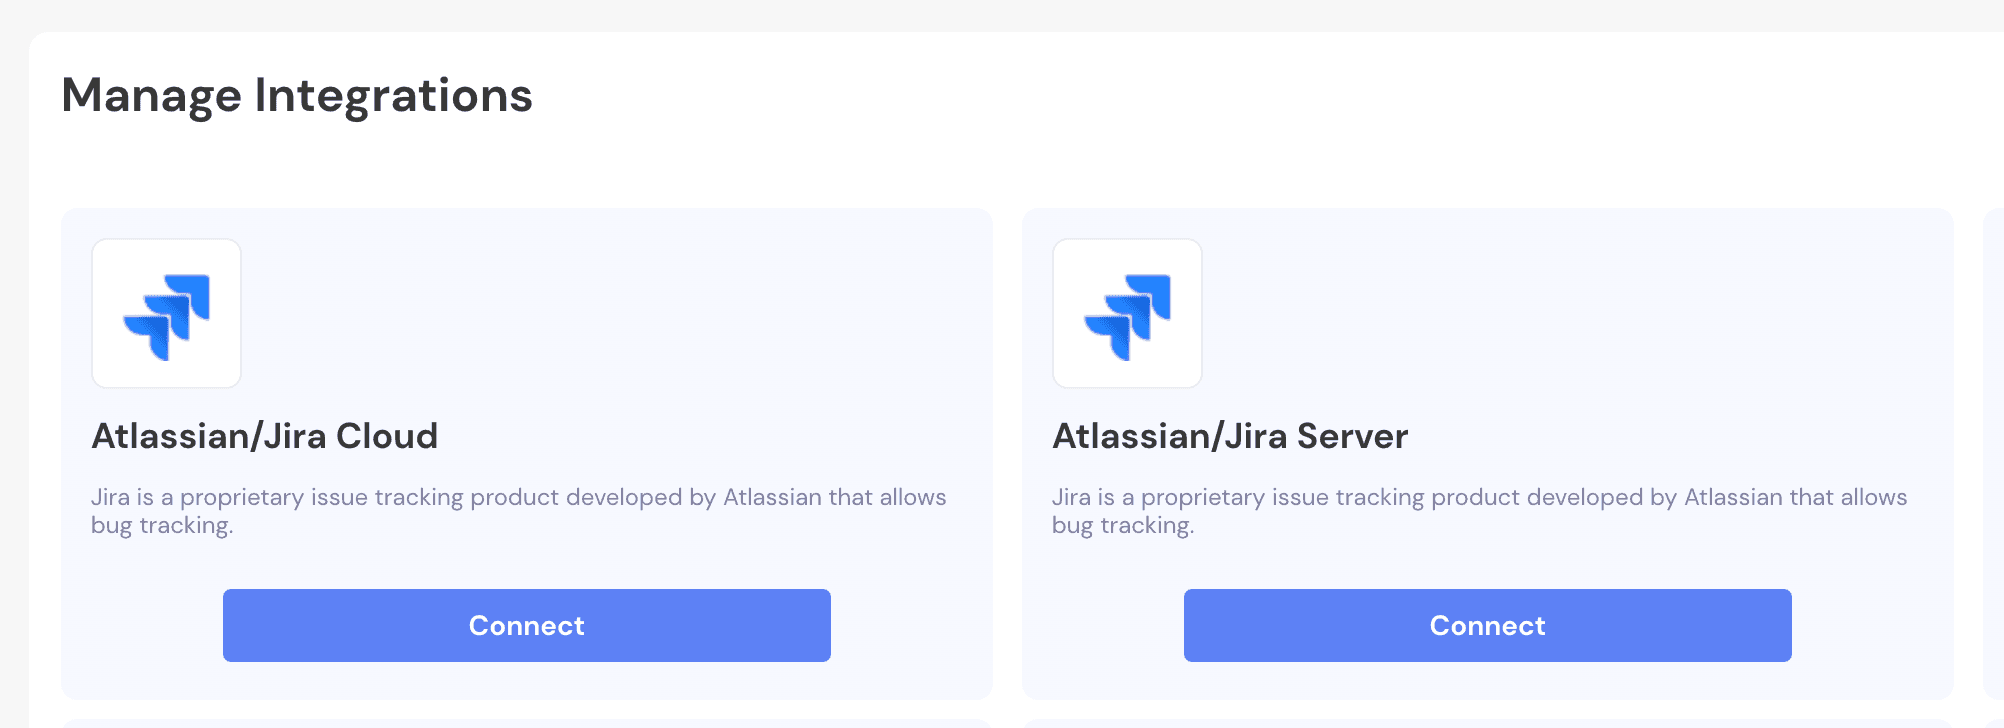
- Choose Atlassian/Jira Cloud for Jira Cloud or Atlassian/Jira Server for an on-premises Jira instance.
- Enter the Jira email, site subdomain, and API token.
- For Jira Cloud, enter the part of the site URL before
.atlassian.net. For example, enteracmeforhttps://acme.atlassian.net. - If you use a scoped Atlassian API token, also enter the Cloud ID. You can obtain it from
https://<your-domain>.atlassian.net/_edge/tenant_info. - Select Connect Jira.
Connect a second Jira account
- On Data Sources > Development, open Configure Jira providers from the Atlassian/Jira card.
- Select Add Jira instance.
-
Complete the connection fields:
- Provider ID: A unique internal key, such as
support,payments, oracme_jira. It does not come from Jira and cannot be changed later. Use 1–64 letters, numbers, underscores, or hyphens. - Display name: A recognizable name shown in the dashboard.
- Product IDs: Optional comma-separated case product IDs that should route to this Jira account. Product IDs must be unique across enabled Jira providers.
- Jira email: The service user’s Atlassian email address.
- Jira subdomain: The part before
.atlassian.netfor Jira Cloud. - Cloud ID: Required for scoped Atlassian API tokens; otherwise optional.
- API token: The service user’s Jira API token.
- Default provider: Handles cases whose product ID does not match another enabled provider.
- Provider ID: A unique internal key, such as
- Select Connect Jira.
Configure and enable a Jira provider
New Jira providers start Disabled. This is intentional: an empty project selection can otherwise mean every project, so IrisAgent waits for an administrator to choose an explicit project scope before the first ingestion. After connecting an account:- Open Configure Jira providers.
- In the provider card, open Jira projects and select at least one project.
- Enter the case Product IDs that should route to this provider. Use the exact values stored in your ticketing system’s case
productIdfield. - For every selected Jira project, set its Project product mapping. This value is stored on ingested Jira issues and lets product-aware Jira search match them to cases with the same product ID.
- Optionally enable Ingest comments or Post comments to cases.
- Turn on the Enabled toggle.
- Select Save settings.
Product routing and the default provider
When IrisAgent needs a Jira provider for a case, it compares the case’sproductId with the Product IDs configured on each enabled provider.
- A matching Product ID routes the case to that Jira provider.
- The enabled Default provider handles a case when no configured Product ID matches.
- Product IDs and selected Jira project keys cannot overlap across enabled providers because the route would be ambiguous.
- Keep one enabled provider as the default unless every possible case product ID has an explicit provider route.
Example: two Jira accounts
With this configuration, a case whose
productId is Payments or Billing uses the Payments Jira account. A case whose product ID does not match either provider uses Support Jira because it is the default.
Ingestion behavior
After you enable and save a provider, the next scheduled ingestion run imports issues from its selected projects. This happens asynchronously and may not be visible immediately after saving. Each Jira account maintains its own credentials, selected projects, ingestion cursor, and provider identity. Issues from different Jira accounts remain distinguishable even if those accounts use the same issue key. By default, IrisAgent ingests recent Jira data. The lookback window and ingestion frequency can be configured for your deployment. API requests respect Atlassian rate limits.Troubleshooting
“Select at least one Jira project before enabling this provider”
Leave the provider disabled, choose at least one value from Jira projects, then enable the provider and save the settings.Jira projects are missing
Confirm that the service user can browse the expected Jira projects and that the token has permission to read projects. Reconnect the provider if its permissions or token changed.A scoped token requires a Cloud ID
Openhttps://<your-domain>.atlassian.net/_edge/tenant_info, copy the Cloud ID, and reconnect the provider with that value.
Product-aware search returns no Jira issues
Confirm both parts of the routing configuration:- The provider’s Product IDs include the case product ID.
- Each selected Jira project has a Project product mapping with the corresponding product ID.
Data governance and security
- Data is encrypted in transit and at rest.
- Jira access is limited by the permissions of the service user and the projects selected in IrisAgent.
- IrisAgent makes authenticated API requests and observes Atlassian rate limits.
- IrisAgent does not share customer Jira data with third parties.
- IrisAgent is SOC 2 Type II and GDPR compliant.